Connectors → open a mailbox → Technical tab
Open a SMTP/IMAP (or relay) mailbox and go to the Technical tab, which shows SPF, DKIM, and DMARC status.
Find the Managed DKIM block
For eligible mailboxes you'll see a Managed DKIM panel: “FirstSales can generate and rotate DKIM keys for you automatically.”
Click Enable Managed DKIM
FirstSales generates a DKIM key pair and returns a real DNS record; a toast confirms “Managed DKIM enabled: add the CNAME record below.”
Copy the CNAME record
The Technical tab now lists the exact DKIM host and value: copy them.
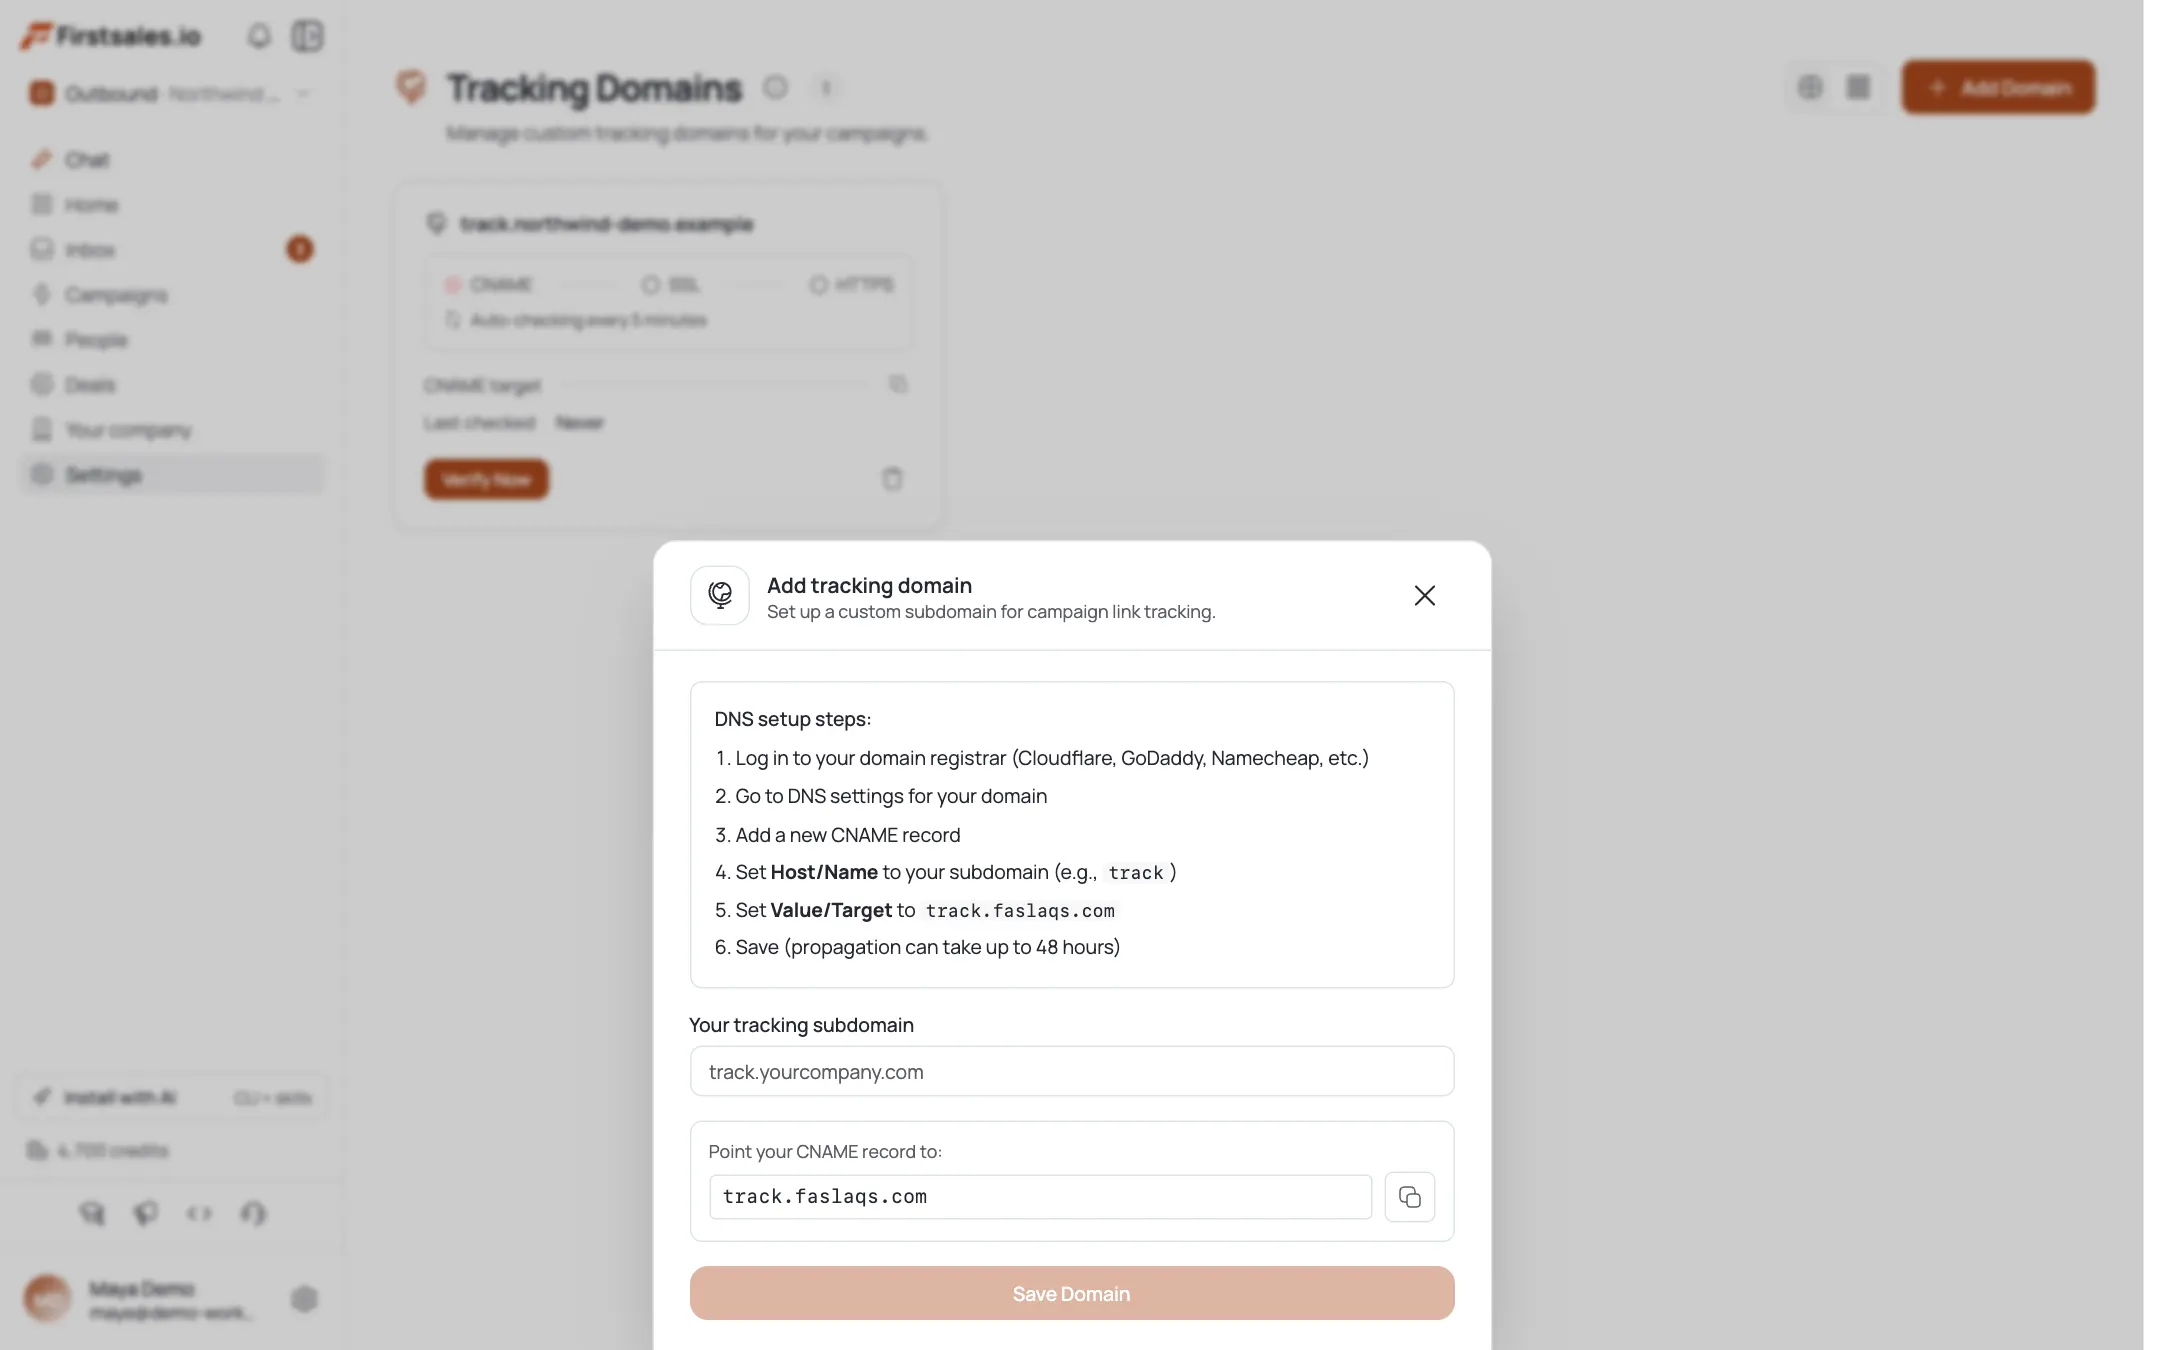
Add it at your registrar
Create the CNAME in your DNS (Cloudflare, GoDaddy, Namecheap, Route53, …) and save. If you're on Cloudflare, use the one-click apply instead of typing it in by hand: see the Cloudflare tutorial.
Let it verify
FirstSales re-checks DNS automatically. Once the record resolves, DKIM flips to OK and your SPF/DKIM/DMARC score rises: DKIM is a third of it.
Rotation is automatic
Because DKIM is managed, FirstSales rotates the key over time with no further DNS changes: you added the CNAME once.
OAuth mailboxes are different
Google and Microsoft mailboxes manage DKIM themselves: there's no Enable button for them. Follow their provider's own DKIM guide instead.
Pro tips
Managed DKIM is for credential mailboxes
SMTP/IMAP and relay accounts get the one-click generate-and-rotate. Google/Microsoft handle DKIM on their side: you won't (and don't need to) see the button.
Add the CNAME once; forget rotation
The whole point is that FirstSales rotates keys for you. A raw self-managed DKIM key means you own rotation forever.
On Cloudflare? Skip manual DNS
The Cloudflare one-click flow applies the DKIM record for you: faster and typo-proof.
DKIM is a third of your auth score
Enabling it moves the SPF/DKIM/DMARC bar meaningfully; pair it with SPF and DMARC for full authentication.
Frequently asked questions
What is Managed DKIM?
FirstSales generates and rotates your DKIM keys automatically; you add one CNAME record and it handles the rest.
Which mailboxes can use it?
SMTP/IMAP (password) and relay mailboxes. Google/Microsoft mailboxes self-manage DKIM and only get a setup guide.
Where do I turn it on?
On the mailbox's Technical tab, click Enable Managed DKIM.
What do I add to DNS?
One CNAME (host + value) that the Technical tab shows after you enable it: copy and add it at your registrar.
Do I have to rotate the key myself?
No: rotation is automatic once the CNAME is in place.
Why don't I see the Enable button?
Either DKIM already passes, or the mailbox is Google/Microsoft (OAuth), which manages DKIM itself.
Does this replace SPF and DMARC?
No: DKIM is one of three. Still set SPF and DMARC on your sending domain.
I'm on Cloudflare: is there a faster way?
Yes: use the Cloudflare one-click apply to add the record without manual DNS entry.